User guide to get started
New to Presti? Watch the tutorials below, or jump to the FAQ ↓
Scroll to explore

Welcome to Presti. This guide will walk you through everything you need to get started — from understanding how the platform works to creating stunning lifestyle images at scale. Use the videos below to explore key features at your own pace.

Presti Intro thumbnail

1. Presti Intro

Get a quick overview of how the Presti platform works — from navigating the interface to understanding the core workflow that powers your creative projects.

Get Started

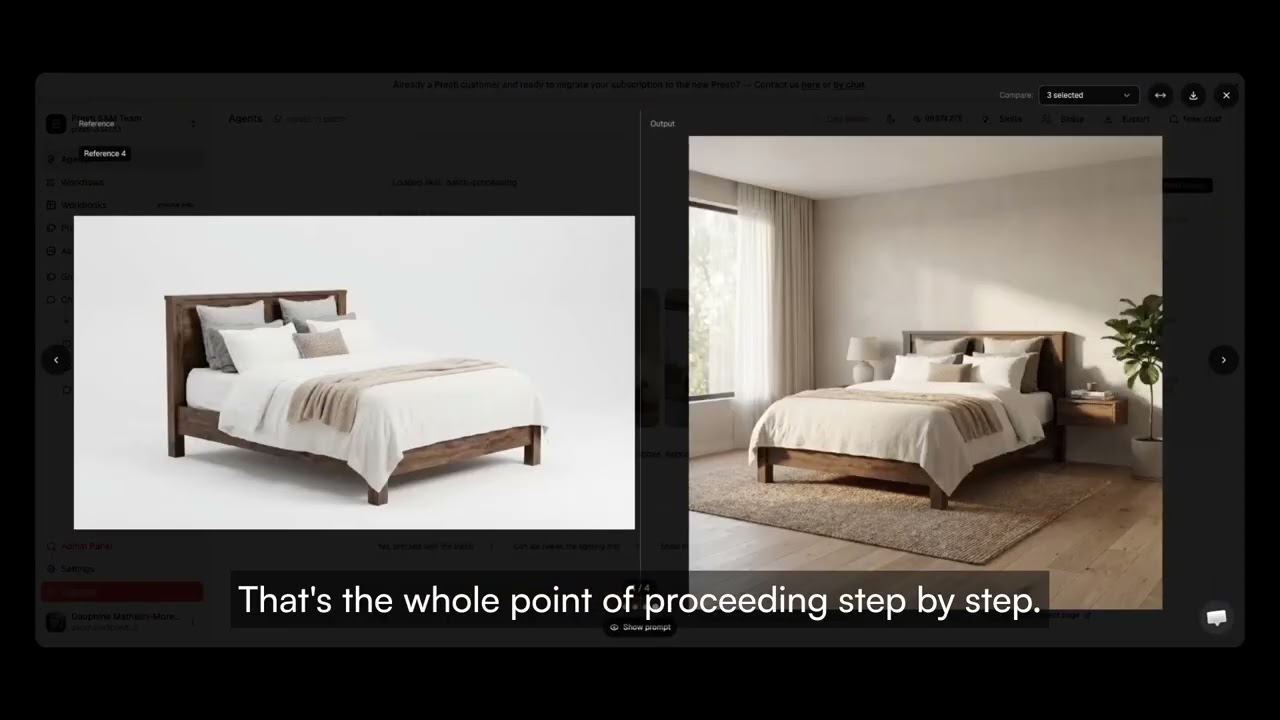
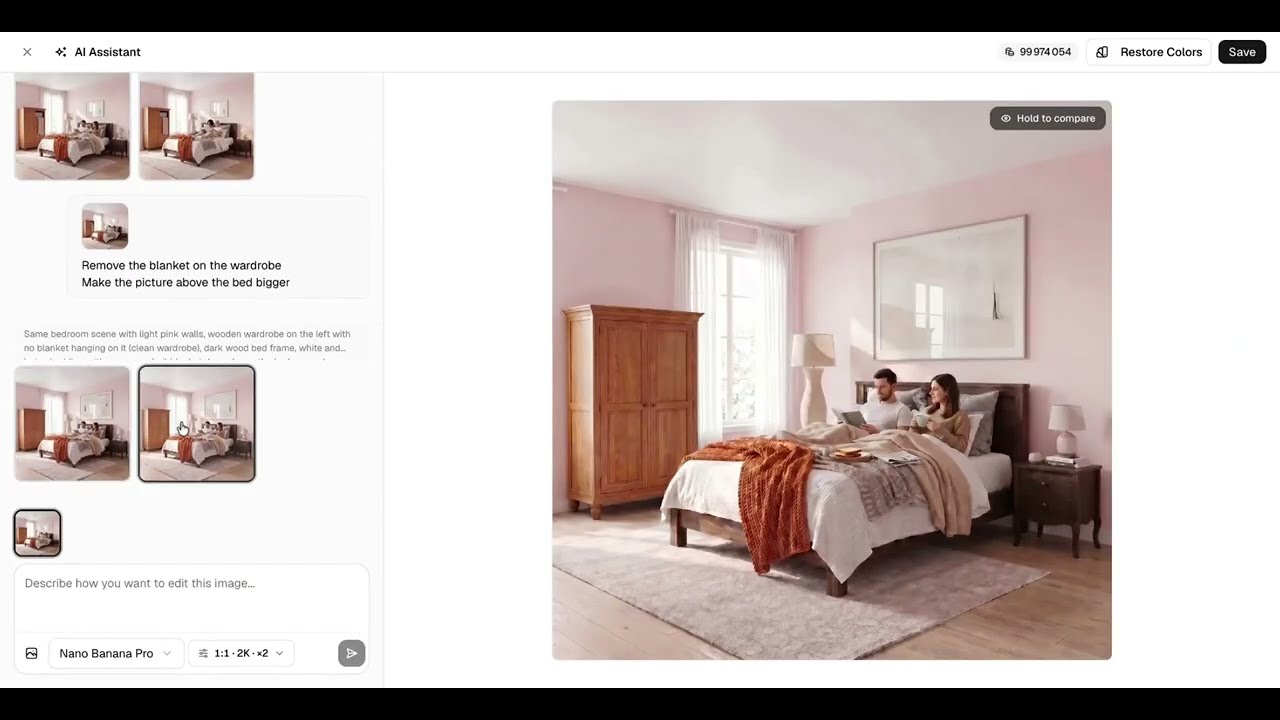
2. Batch Lifestyle Image Generation

Discover how to generate professional lifestyle images at scale — saving time while maintaining full creative control over your results.

Get Started
Batch Lifestyle Image Generation thumbnail
Multiproduct Scene thumbnail

3. Multiproduct Scene

Learn how to create a scene by uploading multiple products directly through the agent chat, and see how easy it is to compose your first lifestyle setup.

Get Started

Q&A

Frequently asked questions

Quick answers to the questions Presti users ask most.

Platform & getting started

I'm familiar with the other Presti (app.presti.ai) — what's the difference, and will it be maintained?

Yes — the original version at app.presti.ai will keep running and stay maintained, so you can continue using it if you prefer.

The main differences with the new version:

  • Agent-based workflow: instead of clicking through tools, you chat with an agent that handles most actions for you in a single conversation.
  • Feature parity: we don't re-create every old feature one-to-one, because most of them can now be done directly through the agent.
  • Image generation: it's a new generation pipeline, so silos may look slightly different — but overall you get better results, faster, and at a fraction of the cost.

If you'd like a walkthrough, you can book a call with our team and we'll guide you through the new platform.

Chat & project organization

Should I create a new chat for every image?

It depends on what you're doing:

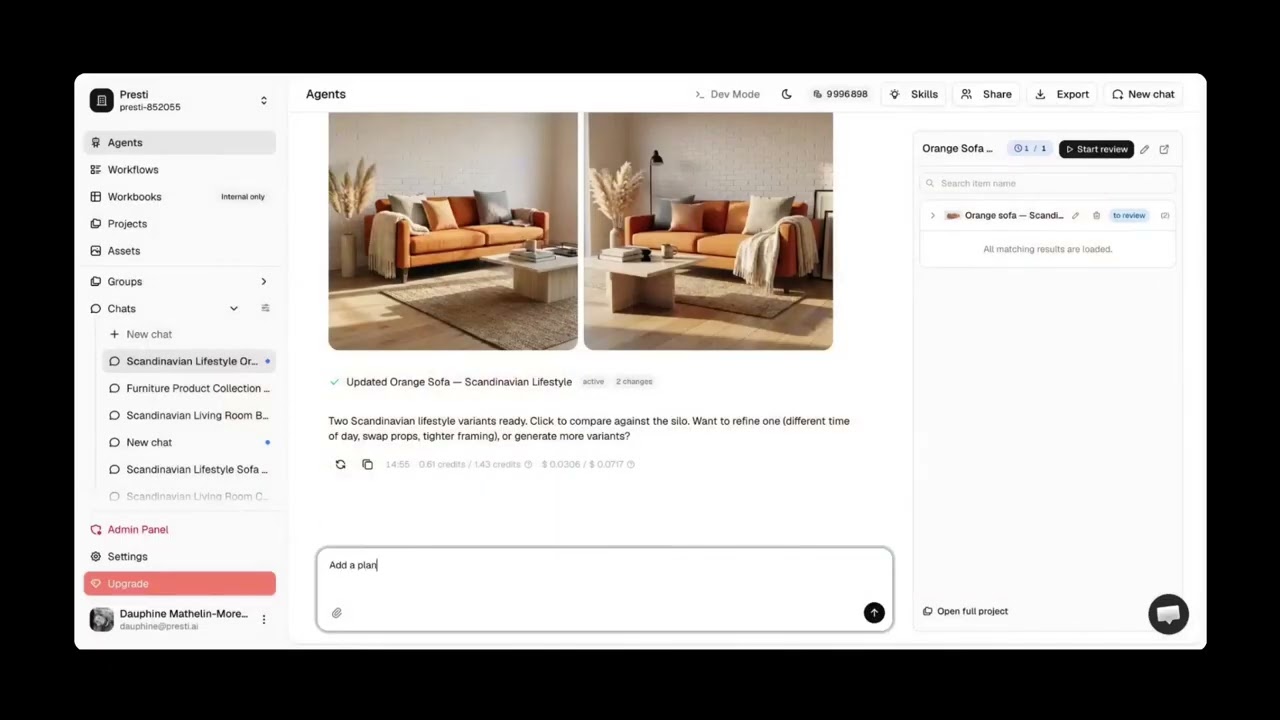
  • Same chat when you're applying a similar process to several similar products (e.g. 10 sofas with the same style). The agent treats it as a project, and all generated visuals show up in the project panel on the right.
  • New chat for a completely different job — different product, different style.
If I prefer an earlier version of an image, can I go back to it like in Photoshop?

Yes. The project panel on the right shows every visual generated in the chat. You can click any version to download it, delete it, or compare it with the original product you uploaded — even after many iterations.

Product quality & consistency

How can I improve product accuracy?

A couple of things you can do to improve product accuracy:

  • Tell the agent that product accuracy is the absolute #1 priority.
  • Add more packshots with different angles, in the best quality you can.
  • Explicitly ask the agent to keep the exact same angle as the reference image to avoid hallucinations.

If it's still not better, let us know which conversation you're referring to and we'll help you further.

Changing the color works well, but changing the material (fabric) gives poor results. How do I do it?

Changing the material is harder than changing the color — the models still have limits there. A few things that help:

  • Explicitly state in the prompt that the product itself must stay unchanged (shape, angle, details).
  • Iterate with the agent ("too much texture, can you try another version").
  • Once you get a good result, save it as a skill so you can reuse the same recipe on other products.
How do I generate a lifestyle scene without losing product quality?

Best practices for lifestyle scenes:

  • Upload only one view of the product to start (not 4) so the AI isn't confused about which angle to use.
  • Stress in the prompt that the product must keep the same angle and the same details as the reference.
  • You can upload other views later if you want additional variants.

Note: the advice of "create the room first and add the furniture afterwards" is not the right approach — start from the product.

How do I avoid quality loss when chaining multiple edits (texture drift, pinkish hue…)?
  • Limit yourself to 2–3 edits maximum on the same image.
  • If quality drops, ask the agent to write out the prompt it used, then start a fresh generation with that complete prompt. For example: "The last image is degraded. Can we recreate the last visual from scratch to avoid quality drift?"

Skills (reusable workflows)

What is a skill and how do I create one?

A skill is a list of instructions saved from a successful conversation that you can reuse on other products.

  • After a good result, ask the agent to "save this conversation as a skill".
  • The agent generates an instruction file (with what to do and what not to do).
  • Skills are shared across your entire organization, with no limit on the number of skills.
  • Invoke a skill by typing / in the prompt, or ask the agent to update an existing skill.

Advanced features

How does the 360° video work? How many photos do I need to provide?
  • 3 photos minimum (front, side, back) — otherwise the AI will invent the back of the product.
  • You can add more photos to give the AI more detail.
  • 360° is one of the in-house services built into the agent, with duration and quality parameters.
  • Cost: around 30 credits per video — save it as a skill once you have a good result so you can replay it across your catalog.
How do I add dimensions (width, height, depth) with arrows on the images?
  • Send an Excel file to the agent containing your product references and their dimensions.
  • The agent reads the file and applies the dimensions directly to the images.
  • Once validated on one product, you can apply it in bulk to your whole catalog via a skill.
How do I generate a close-up on a specific detail (corner, foot, button, texture)?
  • Ideally, upload an existing close-up example to guide the agent.
  • Otherwise, ask for 2 to 4 variants, pick the best one, and ask the agent to update the matching skill.
  • Tip: start from the lifestyle image (not the white packshot) to keep the background.
  • Cost: same as a regular generation — 3 credits for 2K, 6 credits for 4K.
Can a furniture sketch or drawing be turned into a realistic photo?

Yes — and the reverse works too (photo → sketch). Quality depends on the quality of the sketch itself. You can scan the drawing or just take a phone photo of it, then test case by case.

Credits & cost

Why does a simple text answer sometimes cost so many credits?

Credit usage isn't tied only to image or video generation — it also scales with the length of your conversation. Every time you send a message, the agent re-reads the entire thread to keep full context, and longer threads mean more tokens processed (and more credits spent), even for a plain text reply.

A few tips to keep costs under control:

  • Start a new conversation once a thread gets long, instead of continuing in the same one.
  • Link your previous project in the new chat by typing link project [project name] — you'll pick up right where you left off without dragging the full history along.
  • Save recurring workflows as skills so you can reuse them in fresh, lightweight conversations.

If you ever see a single answer consume way more credits than similar ones in the same chat, it's almost always because the thread has grown long. Starting fresh usually brings the cost back down immediately.